

-min.jpeg)
1. Goal:
Automate the mass mailing and processing of WhatsApp messages to improve customer engagement.
2. Scope of application:
Ideal for marketing, sales, and support businesses, making it easy to send messages from a list of customer numbers to Excel via make.com and process responses using a qualified Bigduck.ai bot.
3. Tools:
To get started, make sure you have the following accounts:
- Make.com
- BigDuck.ai
- OpenAI
- You have a Business Portfolio created on Facebook
Go to our platform BigDuck.ai and sign in to your profile.
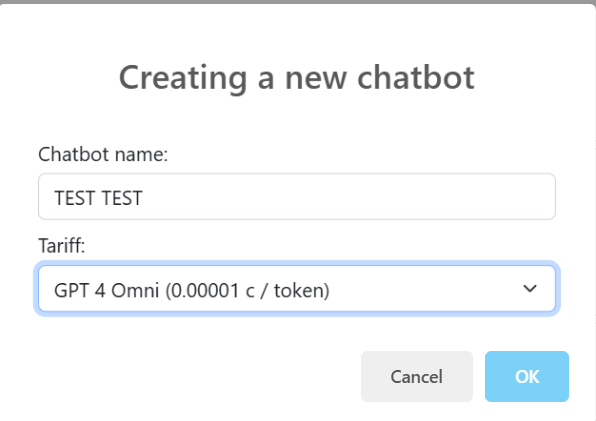
Go to the section Chatbots and click on the “+” icon to create a new chatbot.

Select the model version and give the chatbot a name.
Click on Edit, to start editing and configuring the bot.

Click on the section Prompt and set the instructions you need.
For example:
”
You're a whatsapp messaging assistant.
You're part of comprehensive automation.
Your task is to answer users' questions after the newsletter has been sent.
Newsletter text: “Hello! My name is Artem and I am from the StartDuck IT agency team. 😊
Very happy to meet you! We help businesses implement modern AI solutions to make processes easier, more efficient and more convenient.
Please tell us a little bit about your business — what do you do and what tasks do you want to solve? This will help me offer something that will be useful to you.”
”
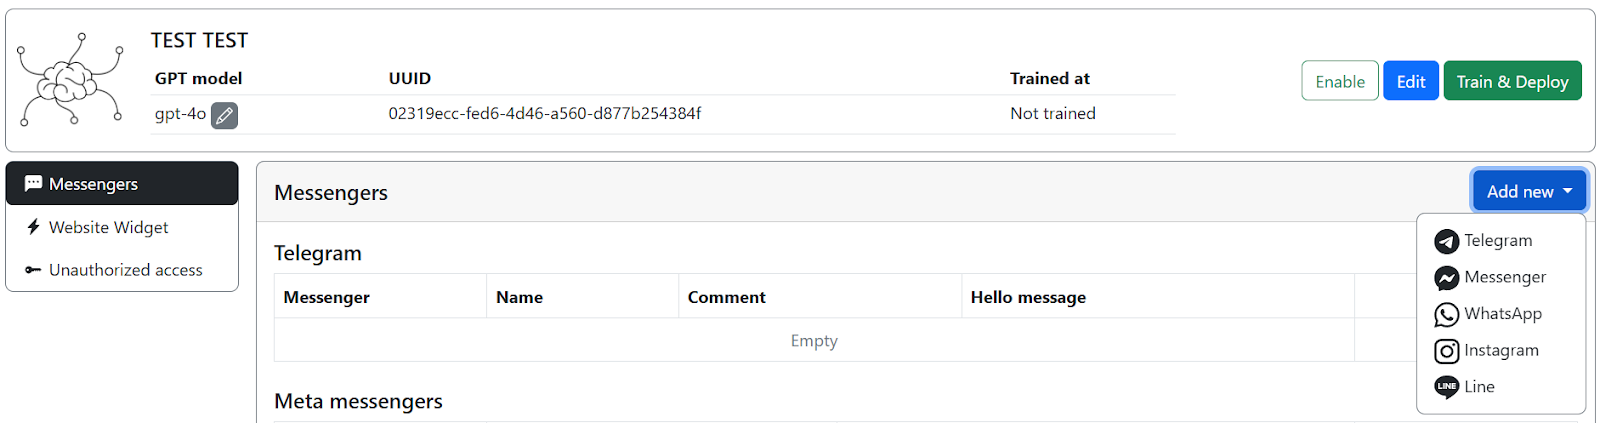
press Save and go to the section Deploy.
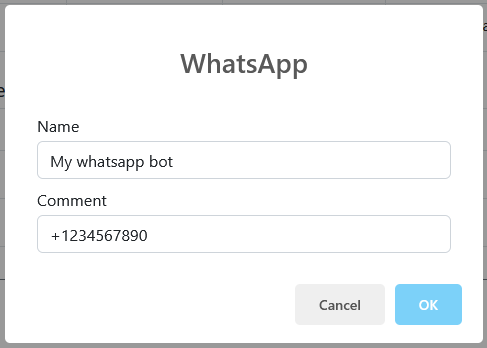
Click here Add New and choose the messenger you need, in our case it's WhatsApp.
We will initiate the linking of a WhatsApp account
Step 2: Get a link to oauth.startduck.com
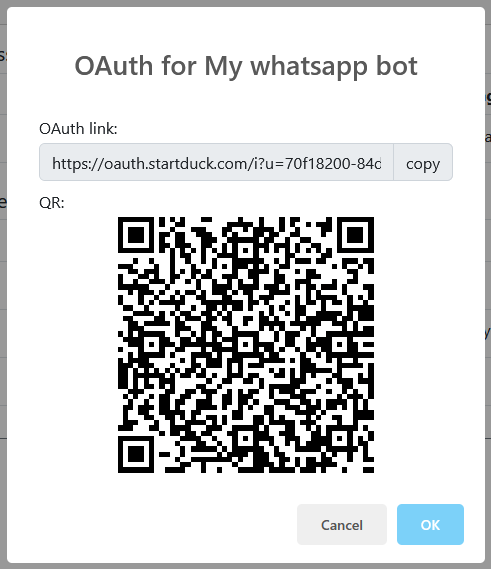
Go to this link yourself
Step 3: Click on the Continue button
Step 4: You should open a separate small window and tab in your browser:
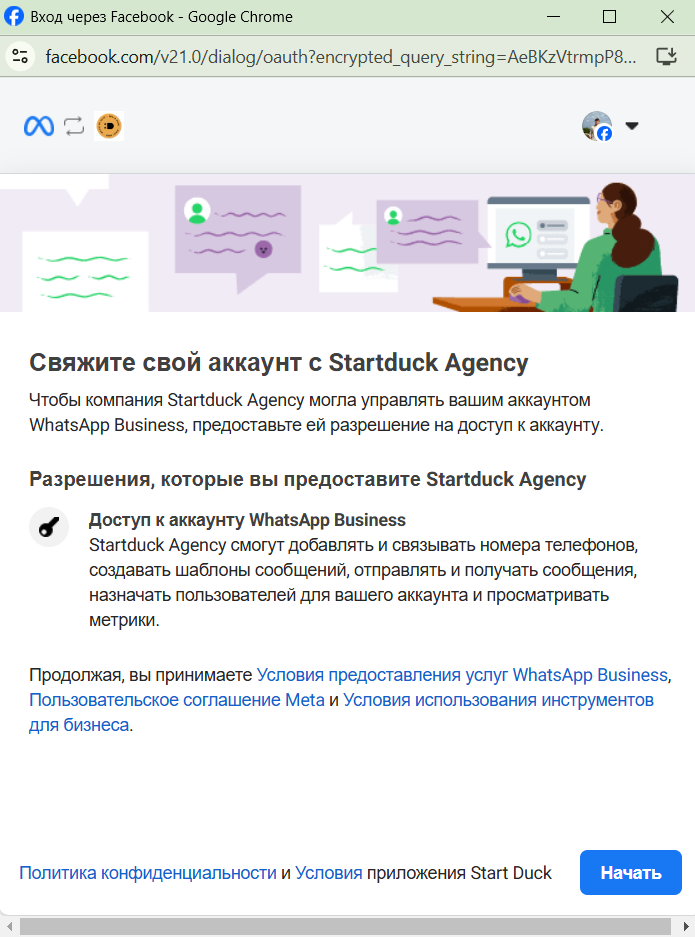
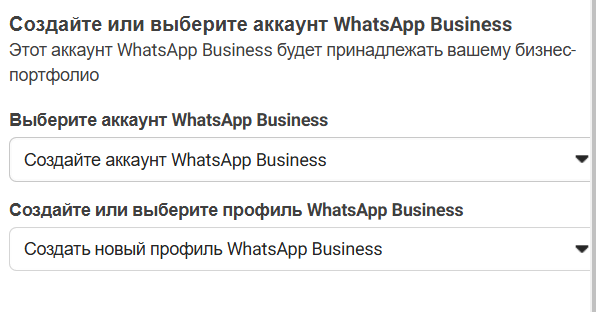
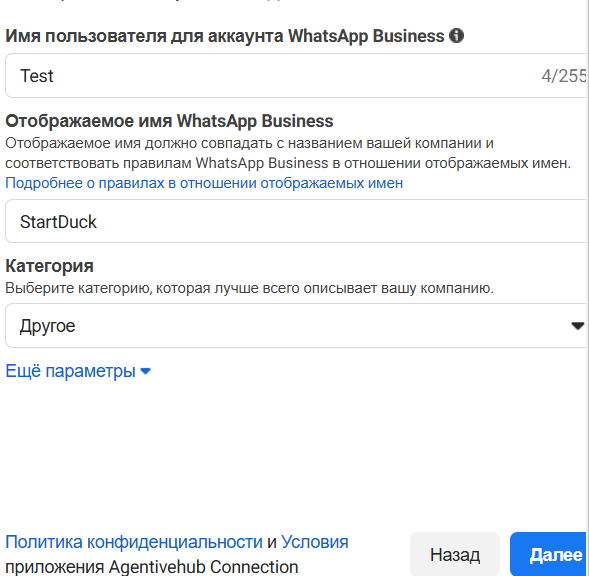
Step 5, 6, 7: Select the right business portfolio (client portfolio) and enter all the necessary data to create a WhatsApp Business account
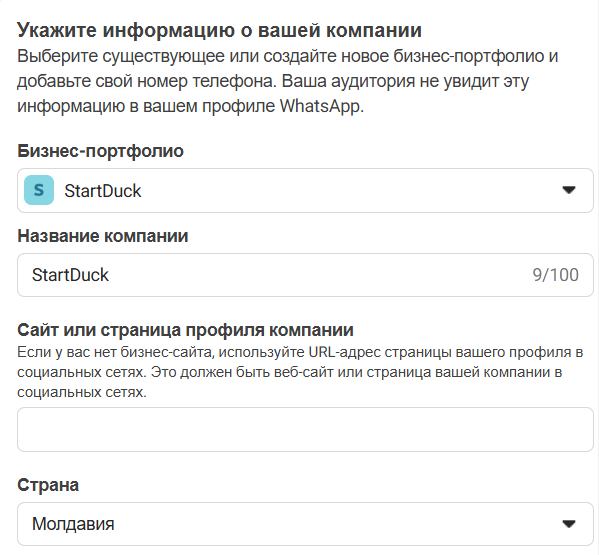
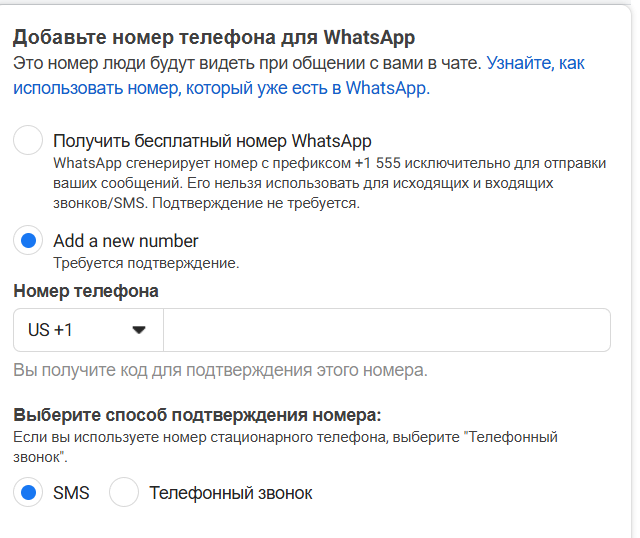
Step 8: Adding your phone number, WhatsApp may request SMS verification.
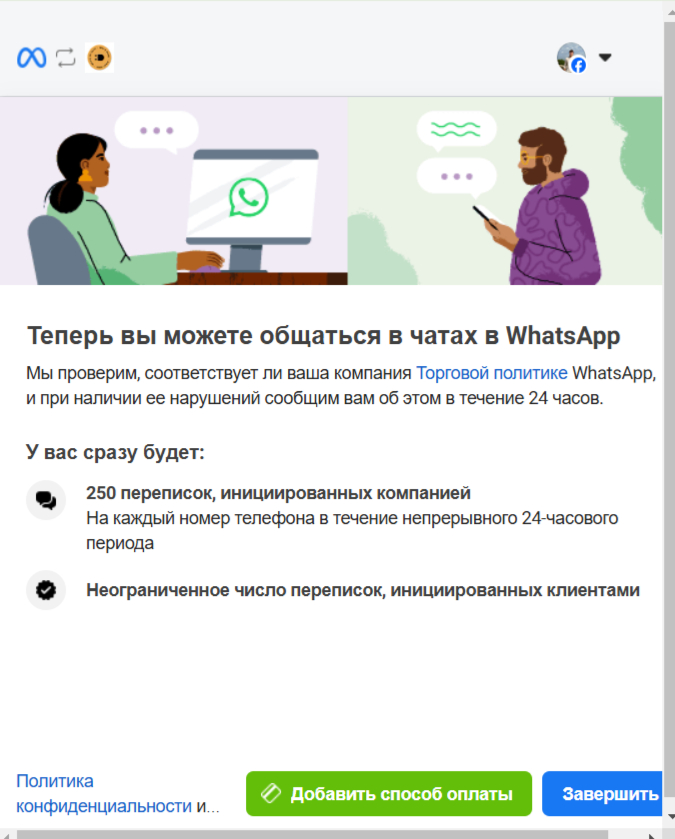
Step 9: Press Complete it.
Now, in the upper right corner of the BigDuck panel, click on your balance
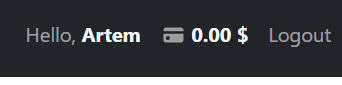
You will see a tariff window where you can top up your balance, or you can connect your OpenAI account directly via an API key.
To do this, go to https://platform.openai.com/settings/organization/api-keys
In the API keys section, click Create new secret key

Copy the generated key and return to BigDuck.
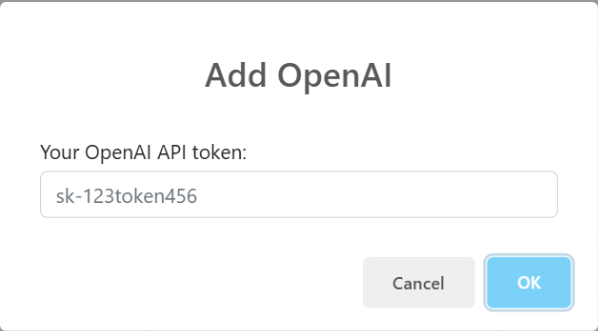
Click on Set OpenAI API token

And paste in the copied key.
Then we move on to Make.com and log in to your account.
On the home page, click Create new scenario
You'll have a new blank canvas where you'll create your own automation.
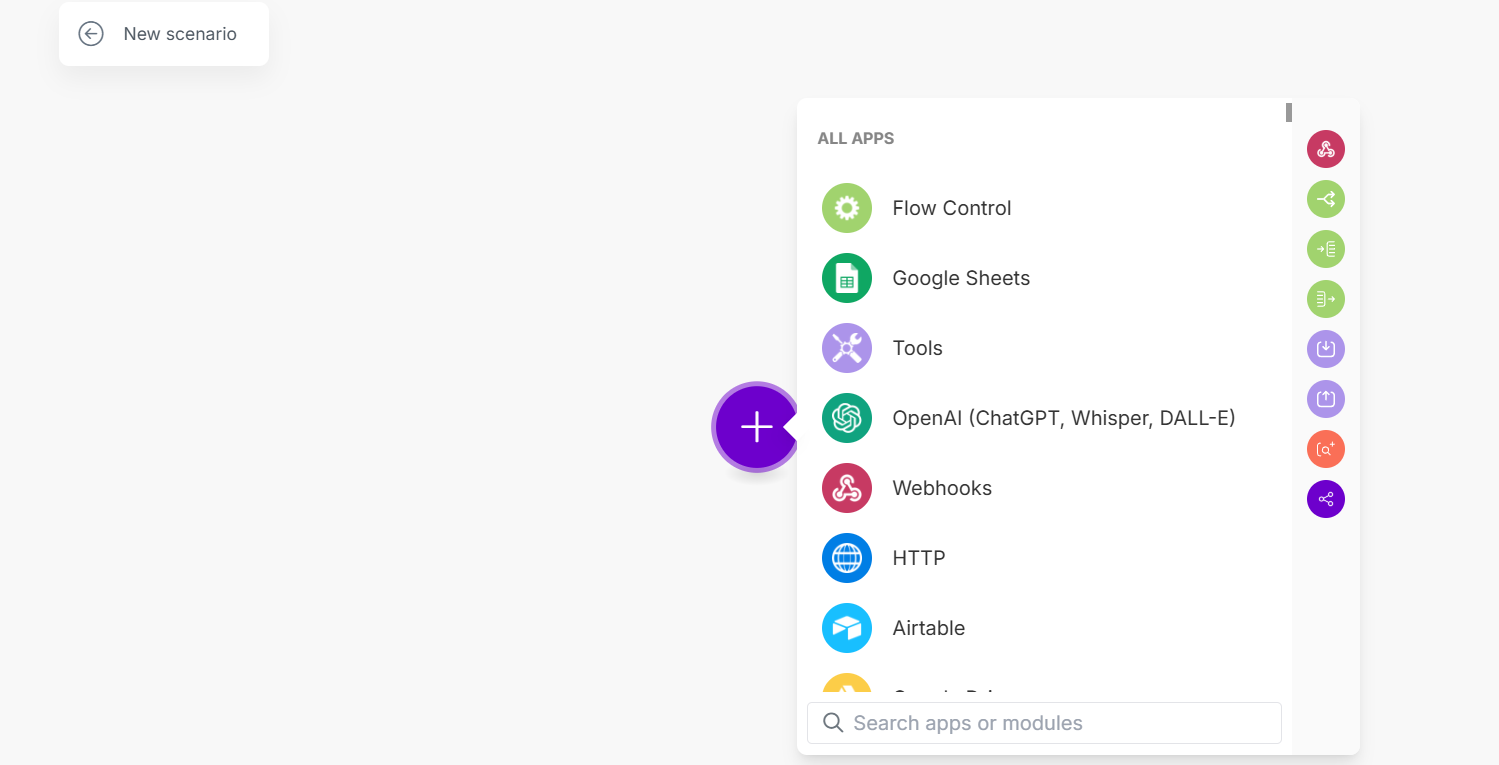
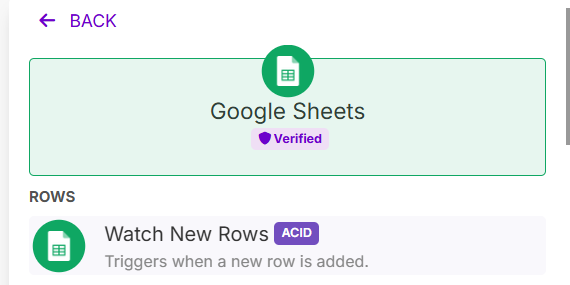
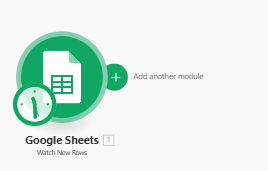
How to choose the first block in automation Google Sheets
We'll upload phone numbers and customer names there.
Please select Watch New Rows
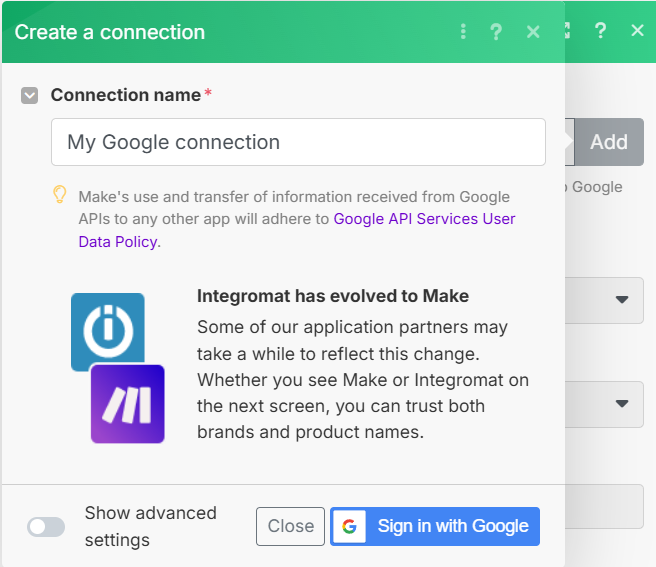
Then, by pressing the button Add in the block itself, connect your Google Account.
Next, create in https://workspace.google.com/products/sheets/ yourself a table.
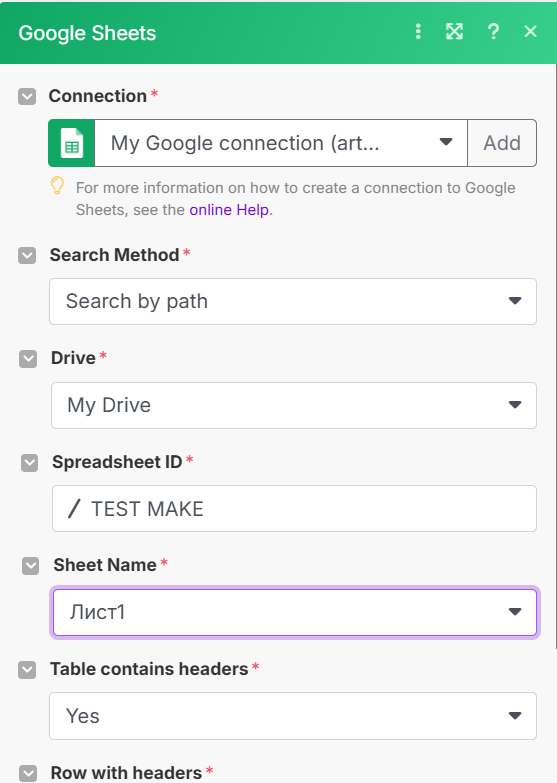
Once you've created your spreadsheet, fine-tune the first automation block in Make.com
Search method - Search by path
Drive - Choose your own drive
Spreadsheet id + Sheet name - Select the spreadsheet you created
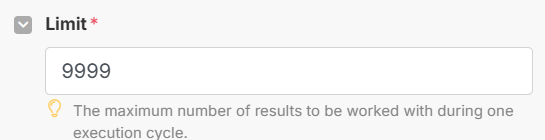
Required in Limit set a multi-digit number to select a large number of numbers
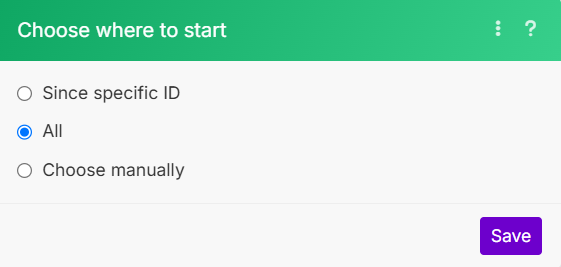
Then click Save and in Choose where to start select All
Then click on “+” or add another module.
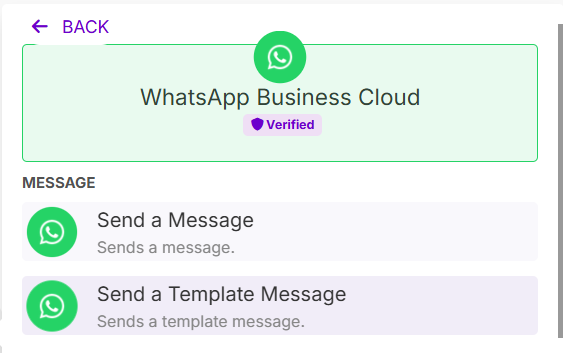
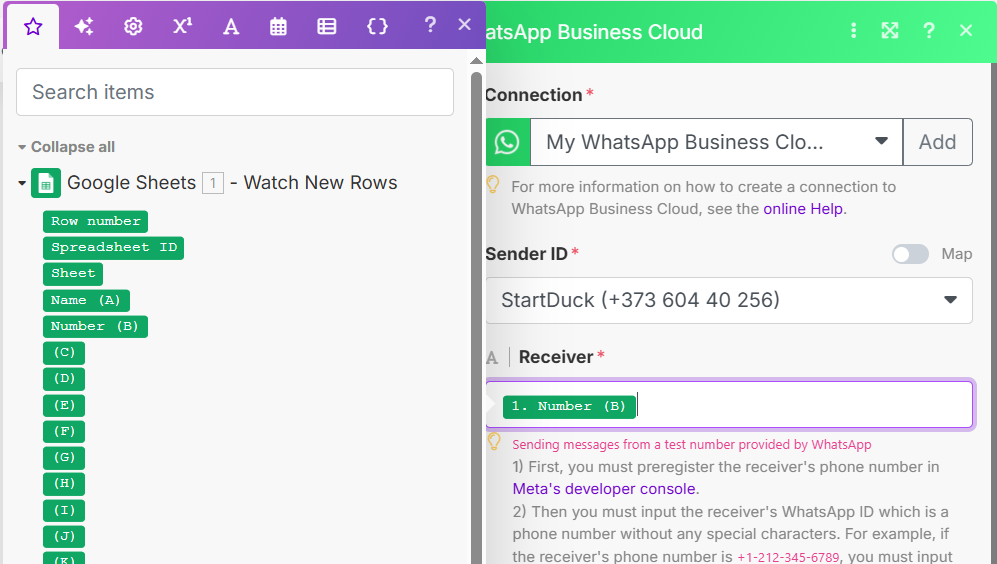
Add the WhatsApp Business cloud module and select Send a Template Message.
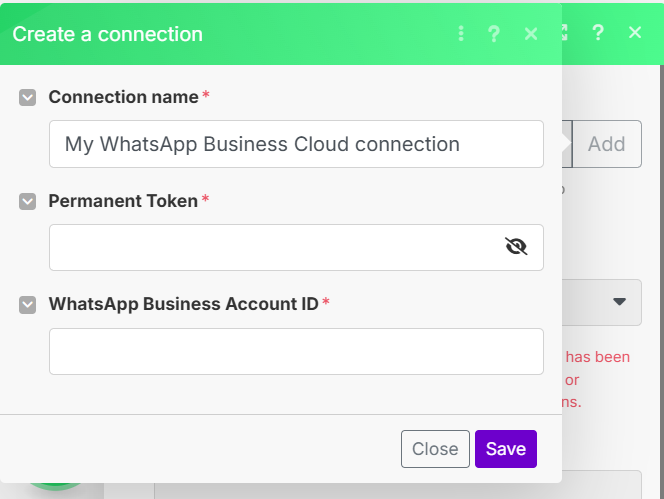
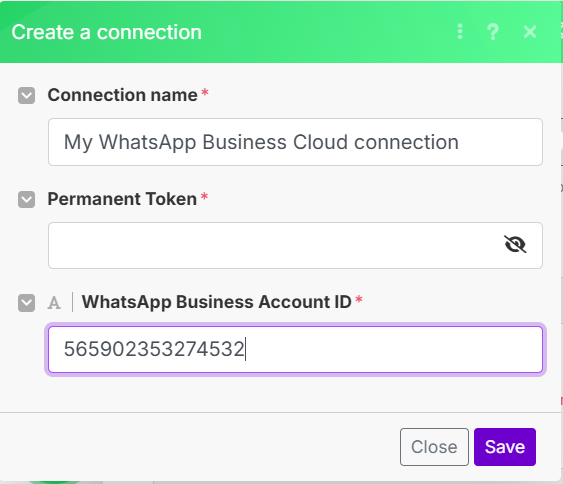
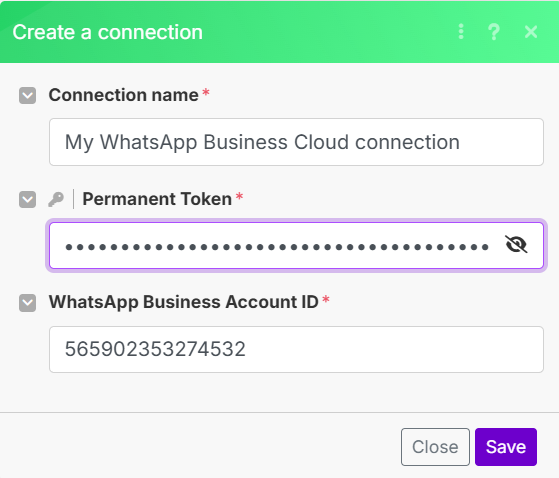
Now you need to connect your WhatsApp Business Cloud account
Go to https://developers.facebook.com/ and build an app.
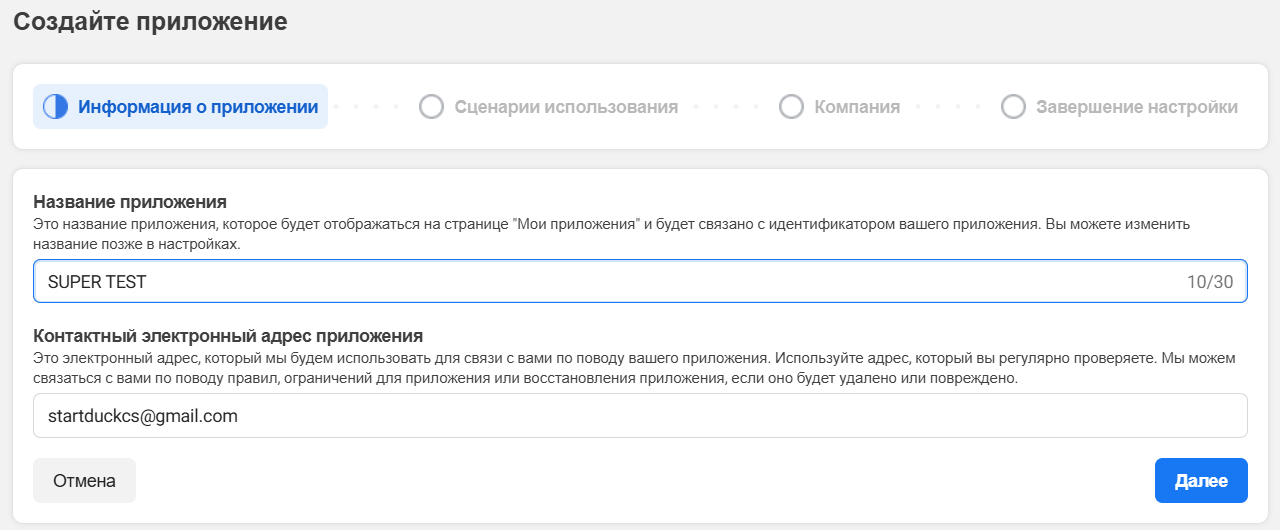
Click on a tab My apps and on the next page - Create an app
We enter a name
We choose Other
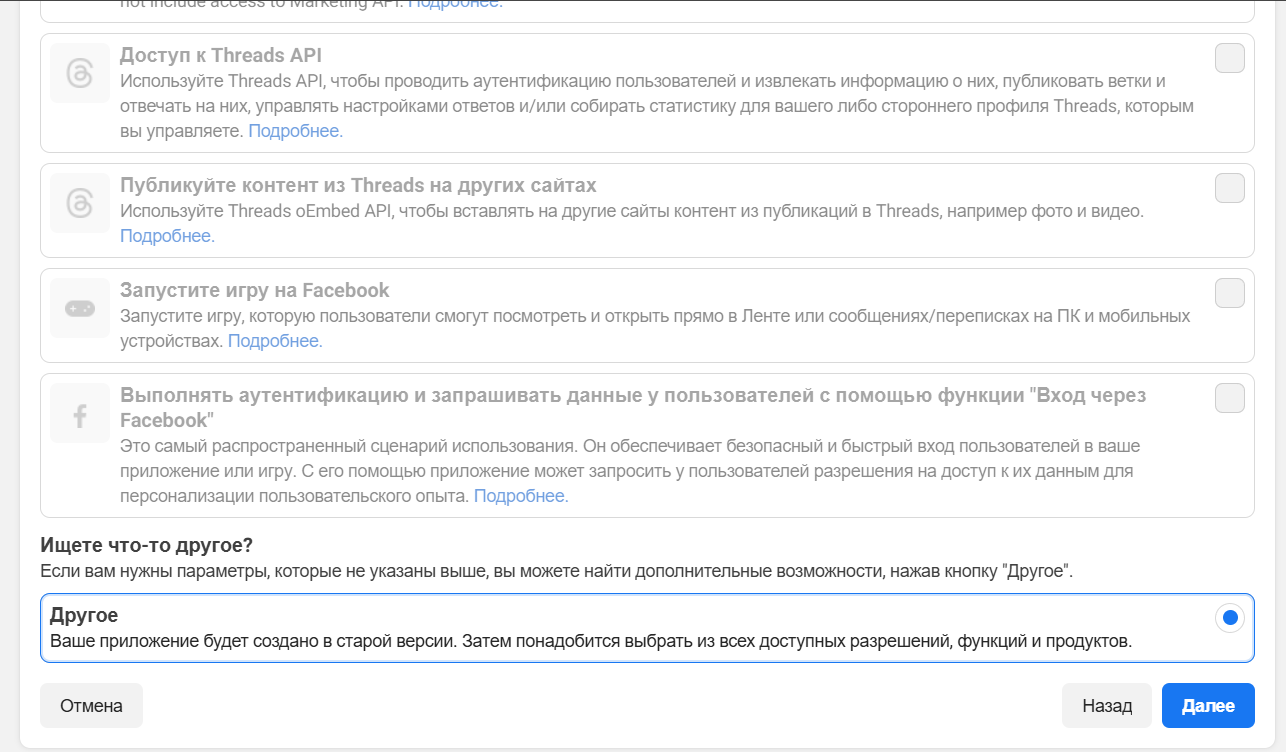
The type of application is required company
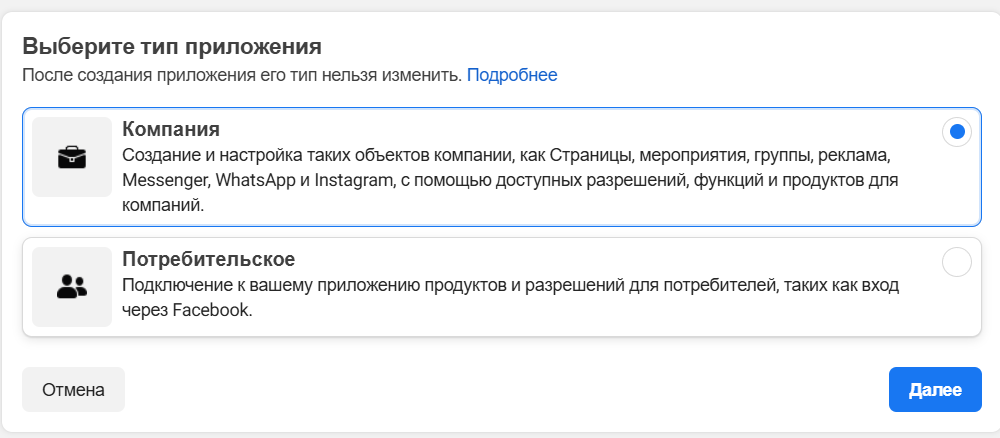
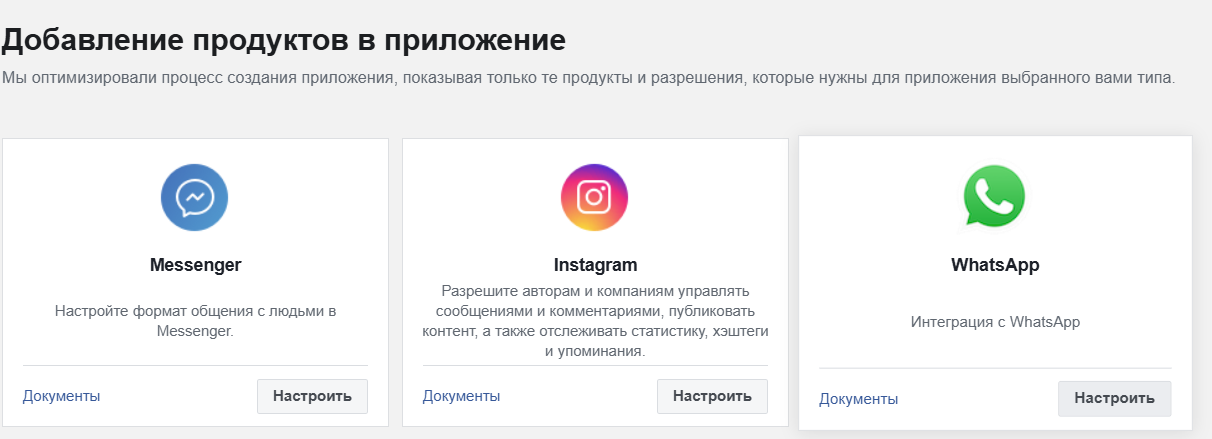
Choose your Business Portfolio and click Creating an app
On the next page in the WhatsApp window, click Configure
Now click Start using the API
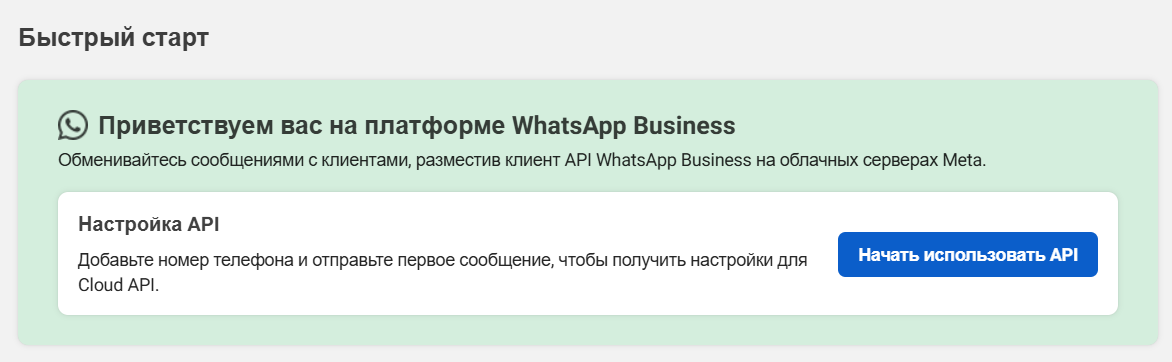
And here you'll find a WhatsApp Business ID that you need to copy and paste into Make.com
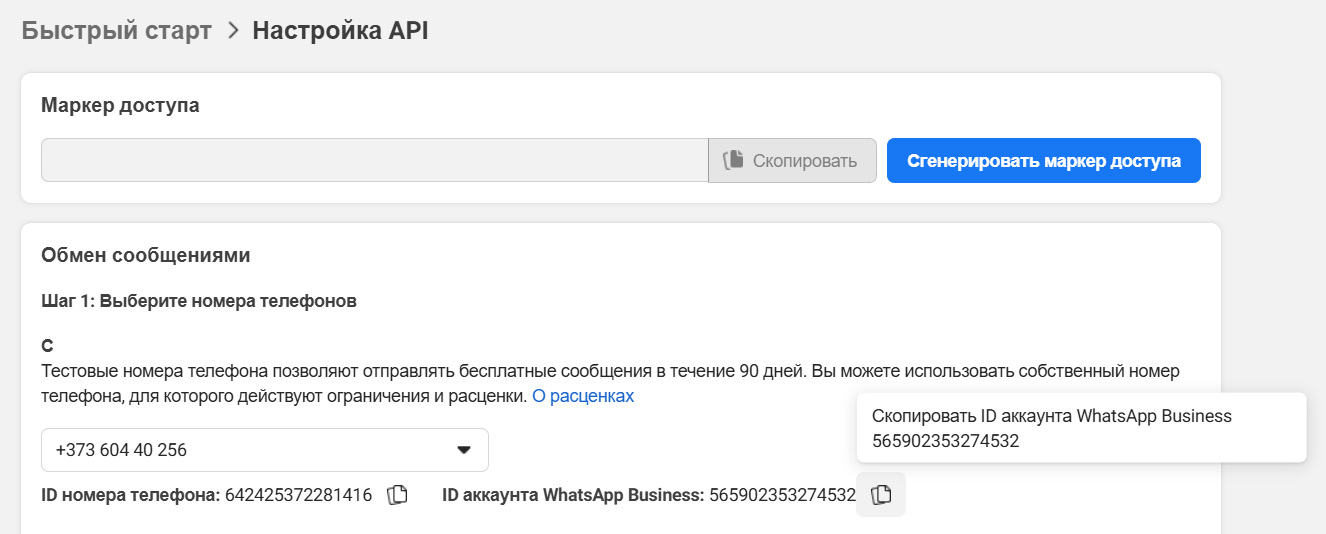
Paste into the section of the same name
And now all that's left is to create a template with the text for the newsletter.
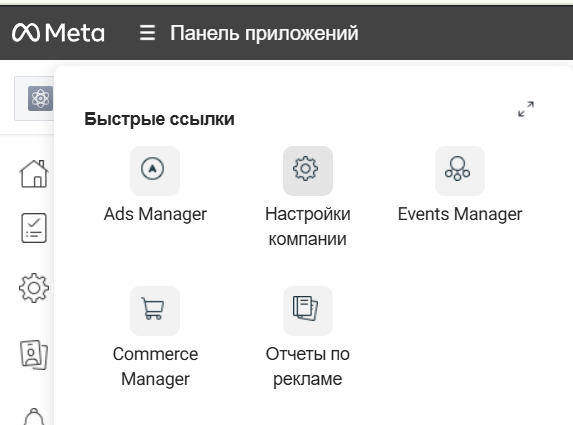
To do this, go back to Facebook and click on App Bar → Company Settings
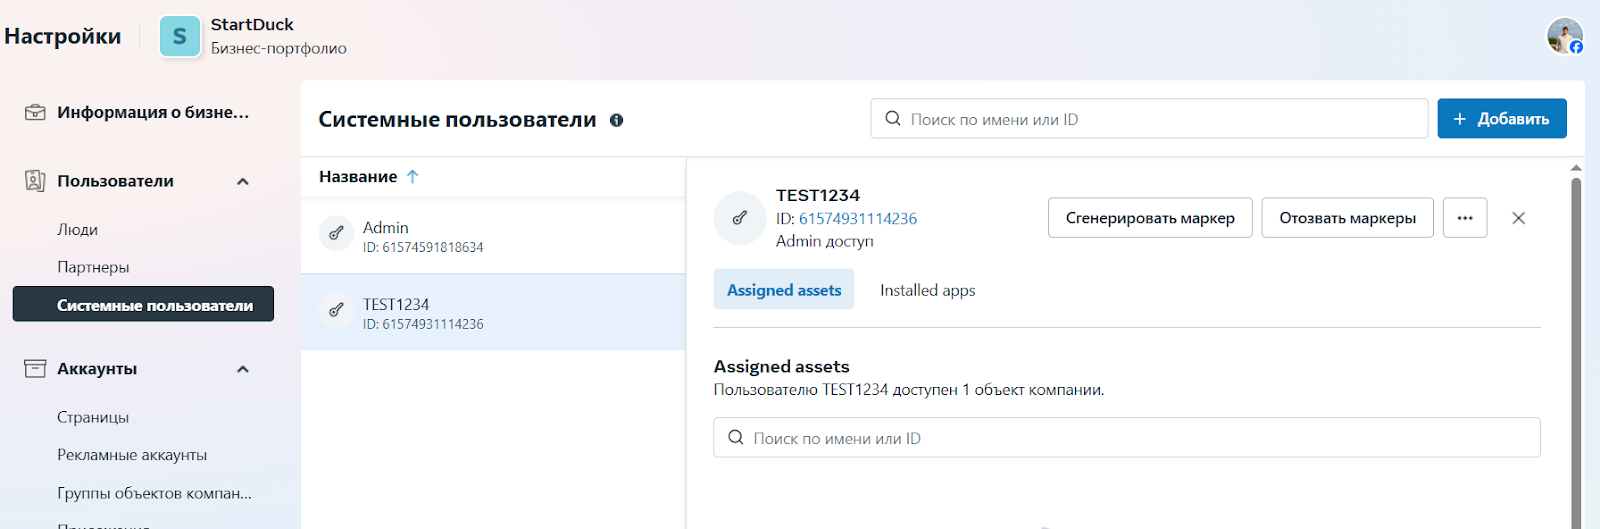
Then select a section System users and add yourself a system user with the Admin role
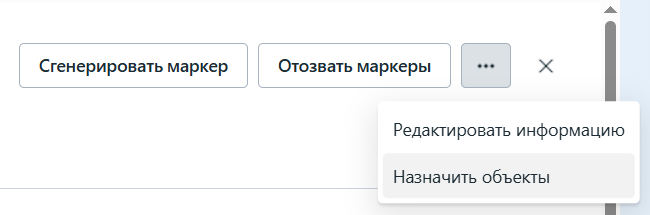
Then select a user with admin access and click on the three-dot icon
And click on Assign objects
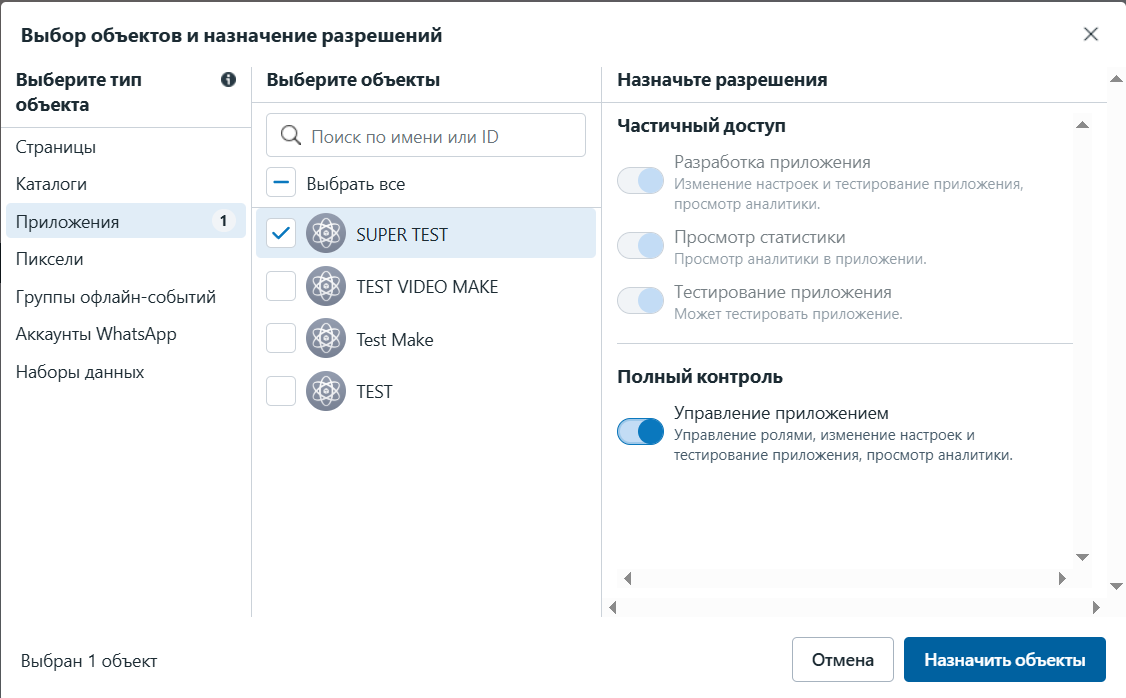
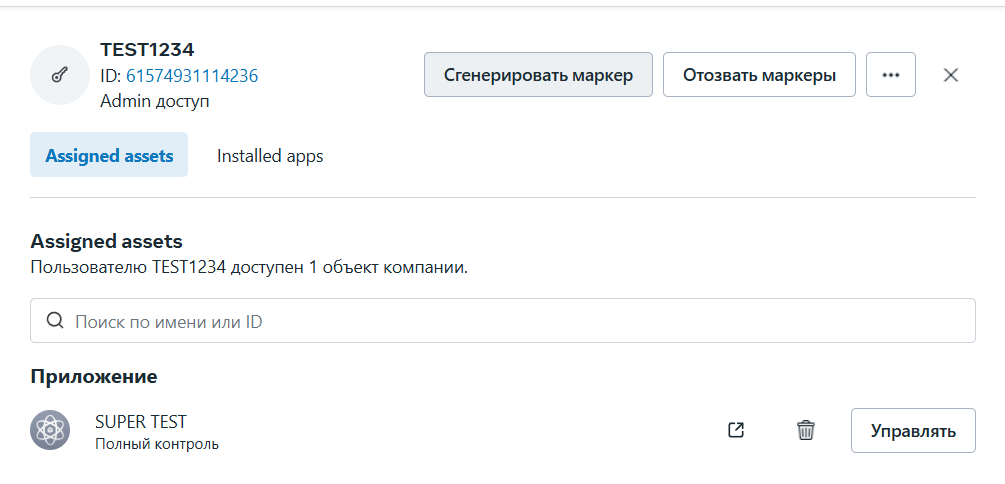
Select the app you created earlier and let Full control
Then click on Generate a marker
Here you issue permissions for all three points related to WhatsApp.
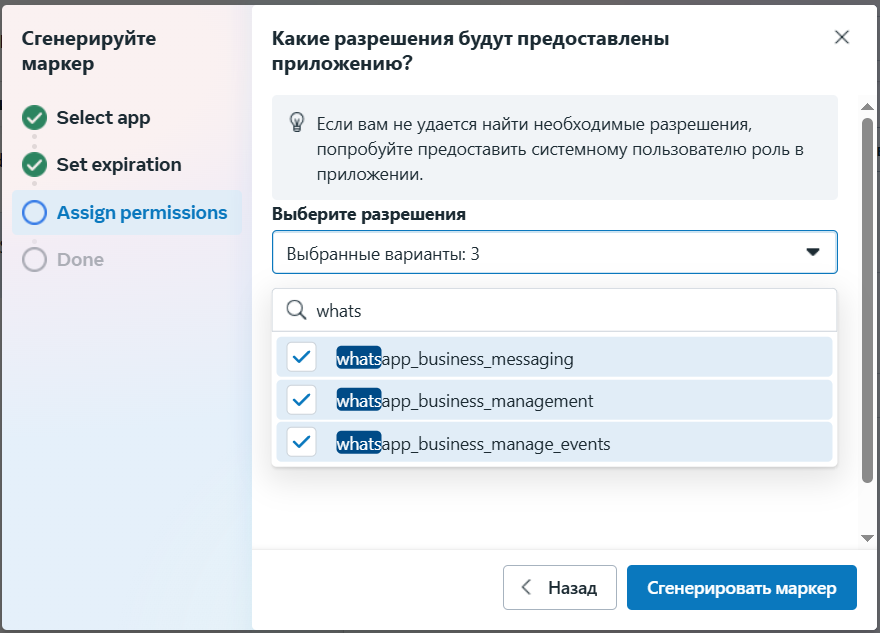
You will then generate a marker that you must copy
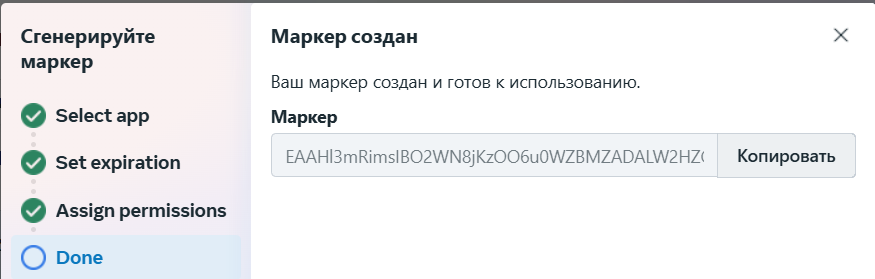
And paste it into make.com into the section Permanent token
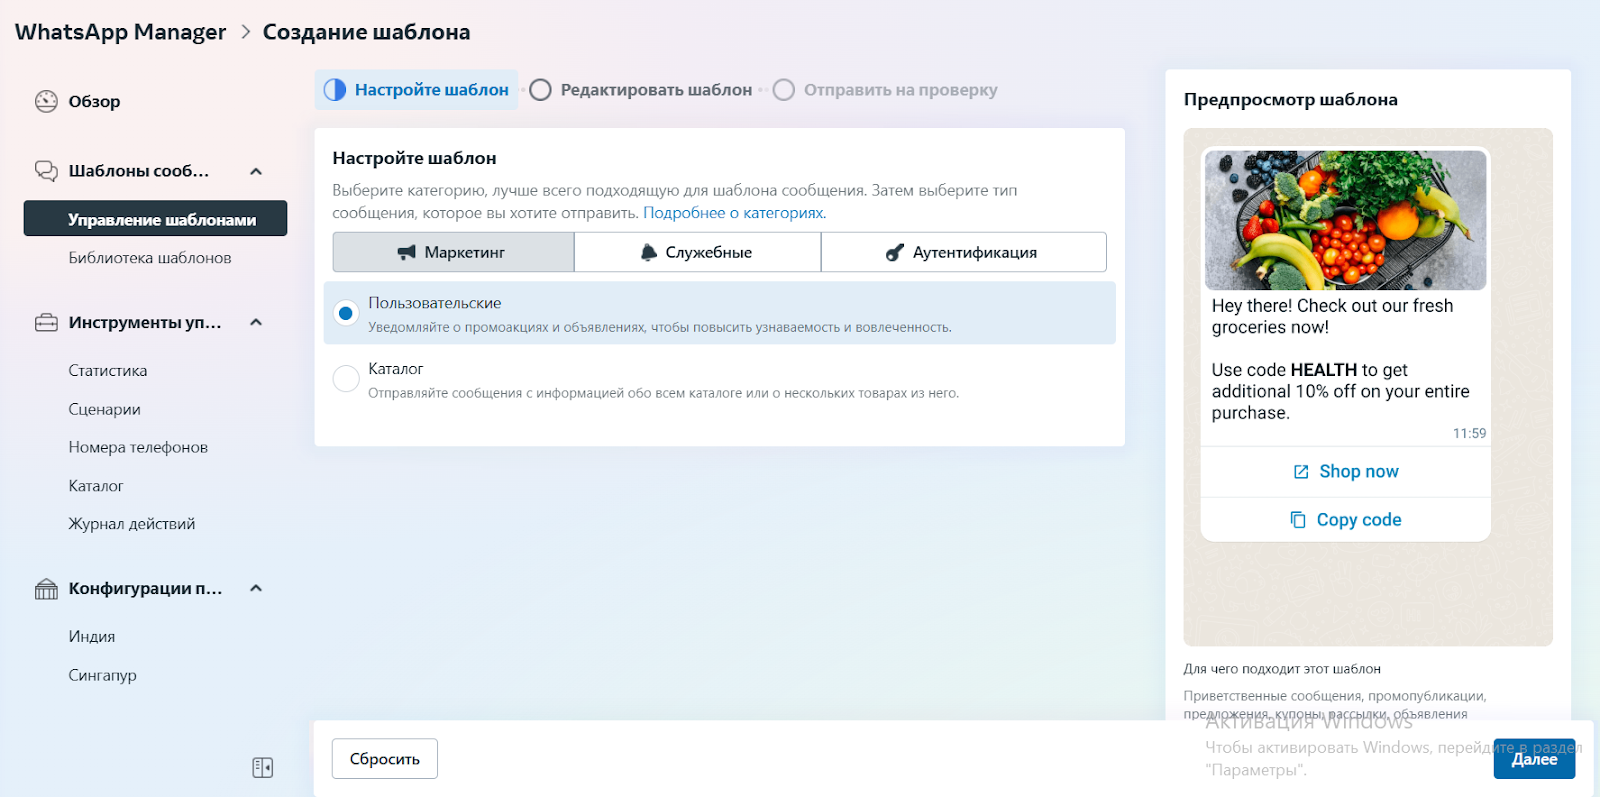
Now go to WhatsApp Business Manager to the section Manage templates

Click on Create a template
Please select Custom and click Next
Enter a name and select a language
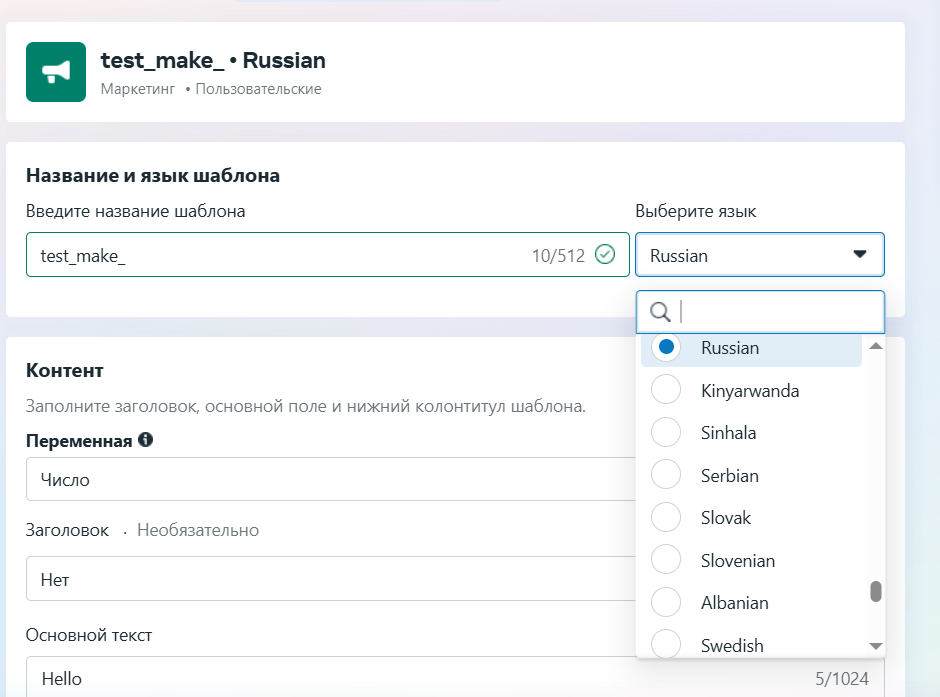
To the section Main text enter the mailing text you need.
And submit the template for review

Verification is carried out instantly, so go straight to Make.com and connect the WhatsApp module to the end.
Sender ID - the phone number you connected to BigDuck.ai
Reciever - choose the column you need, where you will enter phone numbers, in our case this is the second column on the account (B), which we signed as Number.
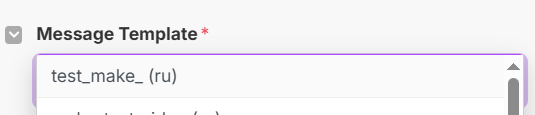
And in the message template, select your message with the newsletter you prepared earlier
Then press Save

It's done.
Your script has been saved and you can run it.
For your convenience, we've described all the automation step by step, but if the video tutorial format is more suitable for you, we invite you to join ours Private club on Telegram, where full reviews from our experts are published.