

Goal:
Automate video content creation using AI to quickly turn text articles into dynamic videos with a personal avatar.
Scope of application:
- Marketing — automation of social networks, email newsletters and advertising.
- News reports — prompt retelling of articles in video format.
- Education — creating training materials without filming.
- Personal branding — using a digital avatar for content.
How does this work?
- Manual launch
➤ Step: When clicking 'Test workflow'
Starts the process manually from n8n. - Getting an article
➤ Step: News1
With the help of Apify, he goes to Morning Brew, finds the first article and retrieves its text. - Generating a script
➤ Step: AI Agent
AI turns an article into a short, conversational text (video script, 50—100 words). - Generating videos
➤ Step: Generate Video1
Sends a script to the HeyGen API to create an AI avatar video. - Waiting 30 seconds
➤ Step: 30 Seconds
Waits for the video to be generated. - Checking video status
➤ Step: Get Video1
Requests HeyGen's video creation status via video_id. - Readiness check
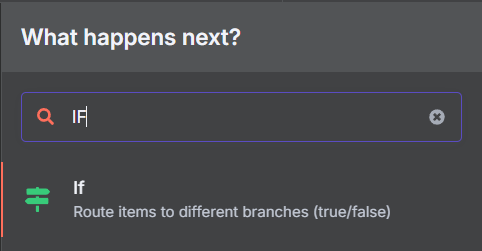
➤ Step: If
Compares status.
— If completed → end.
— If not → proceed to the next step. - Additional expectation
➤ Step: Wait
He waits and returns to the Get Video1 step again. - Repeat the cycle
➤ Repeat the Wait → Get Video1 → If steps until the video is ready.
To enable this automation, you will need:
- OpenAI api key
- Heygen service API key
- Avatar ID and voices you want to use in Heygen
- Api key from the Apify service
First of all, for easy testing, create the first automation block “When clicking Test Workflow” so that automation starts when you press the Test Workflow button, then you can replace the beginning with any other trigger node.
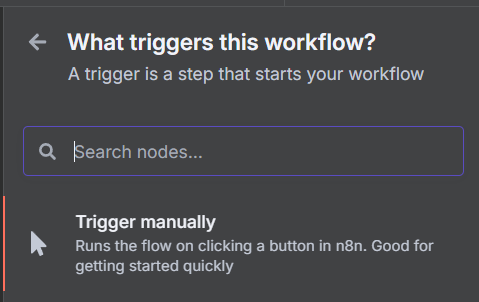
In the search, click Add another trigger
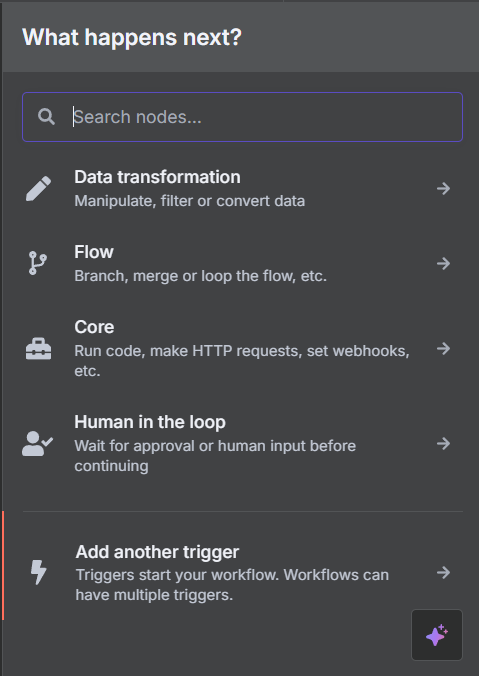
And choose Trigger manually
Next, create an HTTP node where we will get the latest news through the Apify service
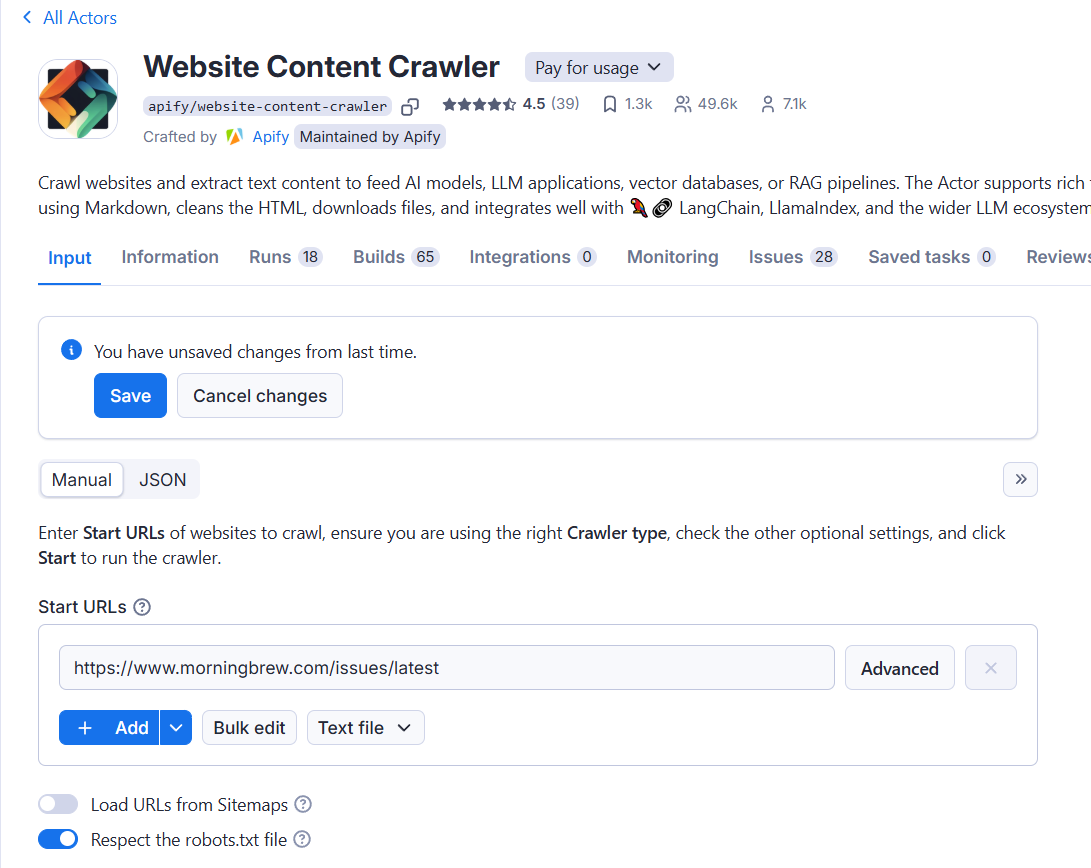
But first, switch to Apify for the website content crawler tool
https://console.apify.com/actors/aYG0l9s7dbB7j3gbS/input
Here, in Start URLs, insert the news site you need, for example, I'll use: https://www.morningbrew.com/issues/latest
Next, in the upper right corner, click on API - API endpoints

In the window that opens, find Run Actor synchronously and get dataset items

This link contains your unique key
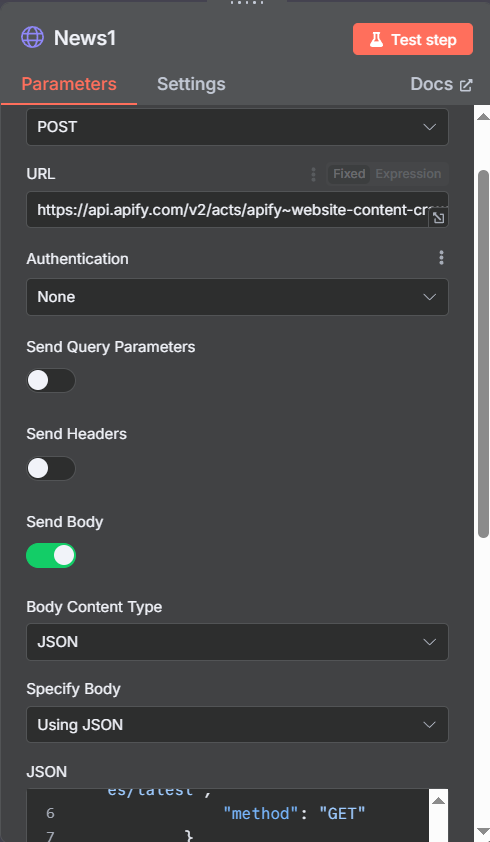
Copy this link with your key and paste it into N8n in the HTTP node in the URL section
Method: POST
Activate Send Body
Body content type: JSON
Specify body: Using JSON
in the JSON box below, paste:
{
“CrawlerType”: “playwright:adaptive”,
“starTurls”: [
{
“url”:”https://www.morningbrew.com/issues/latest“,
“method”: “GET”
}
],
“PageFunctionTimeoutSecs”: 60,
“ProxyConfiguration”: {
“useApifyProxy”: true
},
“saveHTML”: false,
“SaveMarkdown”: false,
“saveScreenshots”: false,
“DebugLog”: false
}
To the place url paste the link to the site you need

It should be like this:
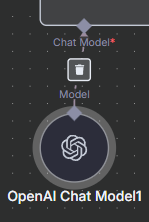
Next, create an AI Agent node
And connect it to OpenAI Chat Model
In the agent himself:
Source for prompt: Define below
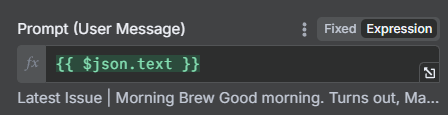
Prompt:
Add a System message to him via the Add Options button
And insert a prompt into the system message:
“You're a screenwriter for short videos. When you log in, you get an article.
Your task is to create a short, dynamic text for the video in a paraphrase format, without titles, and without describing the task.
Use a simple, lively and conversational style.
The length is 50-100 words.
Don't mention the source. Don't say “the article says”. Just retell the point as if you're explaining it to the viewer.
Just give me the script. No introductions, no headlines, no formatting.”
After the Agent AI, create an HTTP request node and fill in:
Method: POST
URL: https://api.heygen.com/v2/video/generate
Authentication: Generic Credential Type
Generic Auth Type: Header Auth
In Header Auth, create new credentials and name them Heygen
In the field Name: x-api-key
In the field Value: your Heygen API key https://app.heygen.com/settings?from=&nav=Subscriptions%20%26%20API
Then activate Send Headers
Specify Header: Using fields below
Name: accept
Value: application/json
Then activate Send Body
Body content type: JSON
Specify body: Using JSON

select expression in the JSON window and paste it below:
{
“video_inputs”: [
{
“character”: {
“type”: “avatar”,
<айди вашего аватара>“ avatar_id”: “”,
“avatar_style”: “normal”
},
“voice”: {
“type”: “text”,
“input_text”: “{{$json.output}}”,
<айди вашего голоса>“ voice_id”: “”,
“speed”: 1.1
}
}
],
“dimension”: {
“width”: 1280,
“height”: 720
}
}
In Heygen, you can create your own clone avatar by uploading 30 seconds to 2 minutes of video footage of your face talking to the camera to the platform, for this purpose in the avatars section https://app.heygen.com/avatars click on Create New Avatar
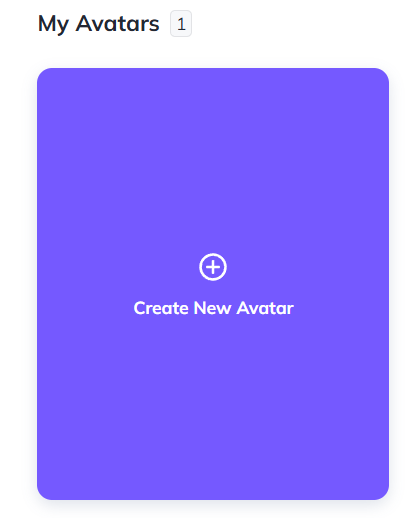
and choose Hyper realistic avatar
Then follow the instructions on the site.
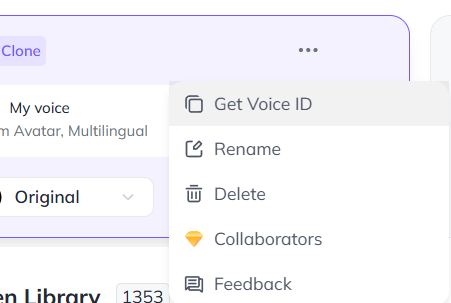
To find your avatar ID, go to Heygen's avatars section https://app.heygen.com/avatars , click on your avatar, then click on the three dots in the corner and select Copy avatar id

Same procedure with voice, go to voices https://app.heygen.com/voices
and in my voices, find your avatar's voice or choose any other one and copy its ID
Next, create a Wait node to allow the video to load.
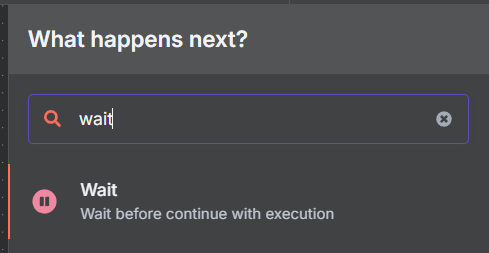
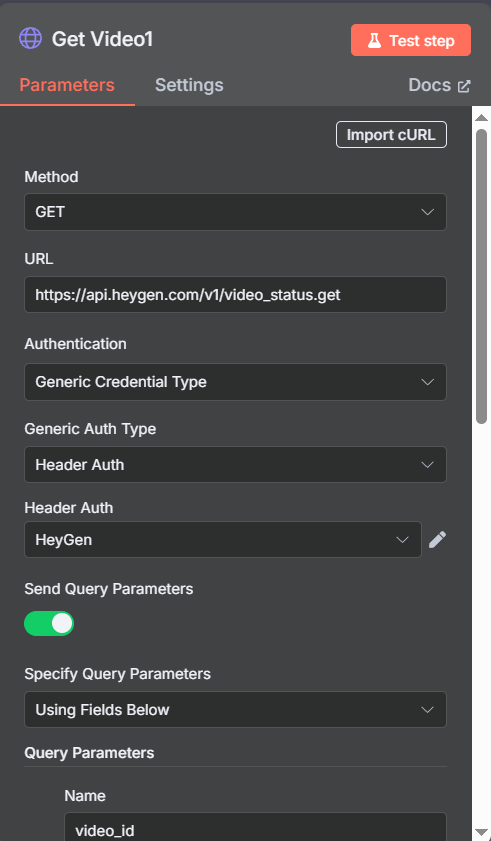
Next, create another HTTP node where you will check and retrieve the finished video.
The structure is similar to previous HTTP nodes
Method: GET
URL: https://api.heygen.com/v1/video_status.get
Connect your previously configured credentials
Activate Send Query Parameters
Specify Query Parameters: Using Fields Below
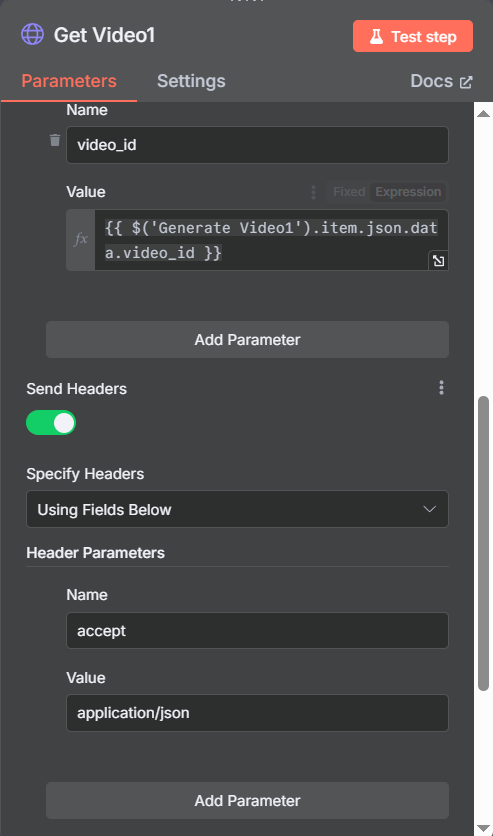
Create a new parameter
Name: video_id
Value: From an HTTP node with video generation via schema mode, drag the dynamic parameter with video_id to this field
Activate Send Headers
Specify Header: Using fields below
Name: accept
Value: application/json
Now create an If node to check whether the video is ready
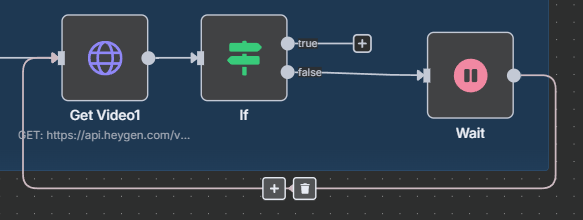
Insert the dynamic status parameter from the previous node via schema mode to compare it with the “completed” status according to the logic implemented in the picture below, or simply enter it: {{$json.data.status}}

If the condition is False and the video is not yet complete, then there should be another Wait node on the False branch, which will give automation time to wait before checking again.
Connect the nodes according to the picture below to form a test cycle that will end only when the condition is True - that is, the video status will be complete.
Done.
You can always get a JSON file and instructions in video format by joining our unique Automation club.